Installing a security plugin is a good start, but it doesn’t close every gap. Many WordPress sites with a security plugin still send browsers missing security headers, allow anyone to browse folder contents, let PHP run inside the uploads folder and leave the built-in file editor switched on for any admin who logs in.
The good news is that you can fix most of these issues yourself with a few small, safe changes to your wp-config.php and .htaccess files. In this beginner’s guide, we’ll show you how to manually harden WordPress security step by step, how to test your site before and after, and how to undo any change if something goes wrong.
Why manually harden WordPress security?
Plugins alone can’t fully harden WordPress security. Security plugins are great at scanning for malware, blocking bad logins and alerting you to problems. But some protections work best, or only work, at the server level:
- Security headers tell browsers how to safely handle your site, for example blocking it from being loaded inside another site’s frame.
- File protection rules stop people from viewing sensitive files directly.
- Configuration settings in
wp-config.phpswitch off risky features that most sites don’t need. - File permissions control who can read and change your files on the server.
When you harden WordPress security this way, the changes take a few minutes, cost nothing and add an extra layer of protection on top of your security plugin.
Before you start
You’ll need:
- Access to your site’s files, through your hosting control panel’s File Manager or an FTP/SFTP app.
- A full backup of your site, so you can restore it if needed. Our guide on what to do when a WordPress update breaks your site explains how to restore one.
- A few minutes to test your site after each change.
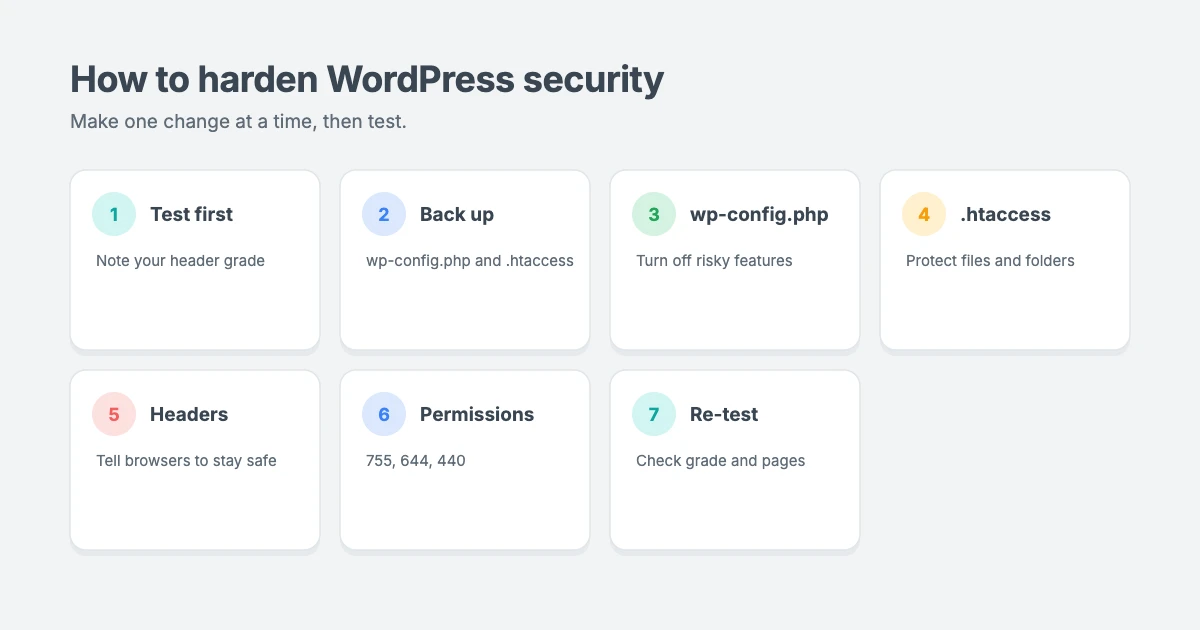
Important: make one change at a time, then check your site. If something breaks, you’ll know exactly what caused it.
Step 1: Test your site’s security first
Before you harden WordPress security, check where you’re starting from. Two free tools are useful here:
- Security Headers: enter your URL to see which security headers your site sends, with a grade from A+ to F.
- MDN HTTP Observatory: Mozilla’s free scanner checks your headers and other common settings.
These scans are a quick way to see how well you harden WordPress security over time. Take a screenshot or note your results. Most WordPress sites score poorly at first, even with a security plugin installed, because security headers are usually set on the server, not by WordPress.
Step 2: Back up your configuration files
You’ll be editing two files in your site’s root folder, the folder that contains wp-admin, wp-content and wp-includes:
wp-config.php.htaccess
Download a copy of both to your computer before you edit them. If anything goes wrong, you can simply upload the original file again.
Tip: .htaccess starts with a dot, so some file managers hide it. Look for a “Show hidden files” option in your File Manager’s settings.
Step 3: Harden your wp-config.php file
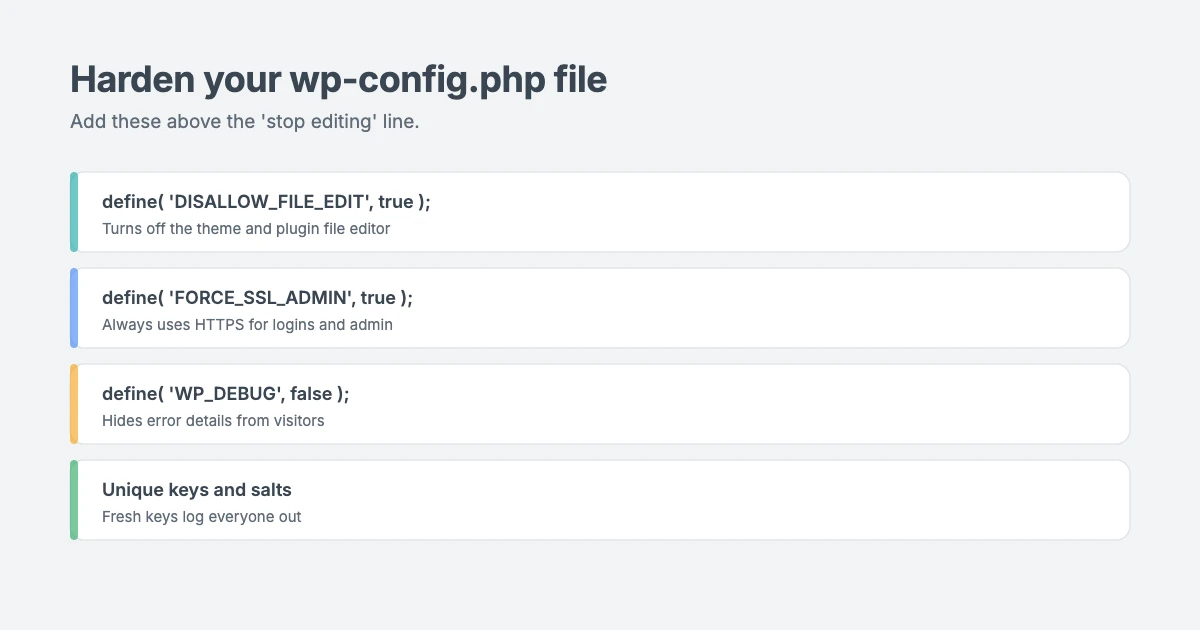
Your wp-config.php file is the best place to start when you harden WordPress security, because it controls important WordPress settings. Open it and add these lines just above the line that says /* That's all, stop editing! Happy publishing. */.
Disable the theme and plugin file editor
By default, any administrator can edit theme and plugin code from Appearance » Theme File Editor and Plugins » Plugin File Editor. If an attacker gets into an admin account, this is one of the first things they use. Turn it off with:
define( 'DISALLOW_FILE_EDIT', true );You can still edit files through your hosting File Manager or SFTP.
Force SSL for the admin area
If your site uses HTTPS (it should), make sure logins and admin pages always use a secure connection:
define( 'FORCE_SSL_ADMIN', true );Don’t show errors to visitors
Error messages can reveal file paths and other details that help attackers. On a live site, keep debugging off, or log errors privately instead of displaying them:
define( 'WP_DEBUG', false );If you need to debug a problem, use this instead, which writes errors to wp-content/debug.log without showing them on screen:
define( 'WP_DEBUG', true );
define( 'WP_DEBUG_LOG', true );
define( 'WP_DEBUG_DISPLAY', false );
Remember to turn debugging off again when you’re done, and delete the log file.
Use unique security keys
Your wp-config.php file should contain eight unique security keys and salts. If they’re missing or still say put your unique phrase here, replace them with fresh ones from the official WordPress.org secret key generator. Changing them logs everyone out, which is also a good step after any security scare.
Step 4: Protect sensitive files with .htaccess
The next way to harden WordPress security is with your .htaccess file. If your site runs on an Apache or LiteSpeed server, which most shared hosts use, you can use .htaccess rules to block access to sensitive files and folders.
Open the .htaccess file in your root folder. You’ll see a section between # BEGIN WordPress and # END WordPress. Don’t edit anything inside that section, because WordPress manages it. Add your rules after # END WordPress, on a new line.
Protect wp-config.php
<Files wp-config.php>
    Require all denied
</Files>
This stops anyone from requesting your wp-config.php file directly in a browser. WordPress still reads it normally.
Turn off directory browsing
If a folder doesn’t contain an index file, some servers list its contents to anyone who visits. Turn that off with:
Options -IndexesBlock XML-RPC (if you don’t use it)
xmlrpc.php is an older way for apps to connect to WordPress, and it’s often targeted by brute force attacks. If you don’t use the WordPress mobile app, Jetpack or another tool that needs it, you can block it:
<Files xmlrpc.php>
    Require all denied
</Files>
If something stops working after this change, such as a mobile app or a connected service, remove this rule.
Stop PHP running in the uploads folder
Your wp-content/uploads folder should only contain images and other media. Hackers often try to upload PHP files there and run them. To block this, create a new file called .htaccess inside the wp-content/uploads folder (not your root folder) and add:
<FilesMatch "\.(php|phtml|php[0-9])$">
    Require all denied
</FilesMatch>
Your images and media will still load normally.
Step 5: Add security headers
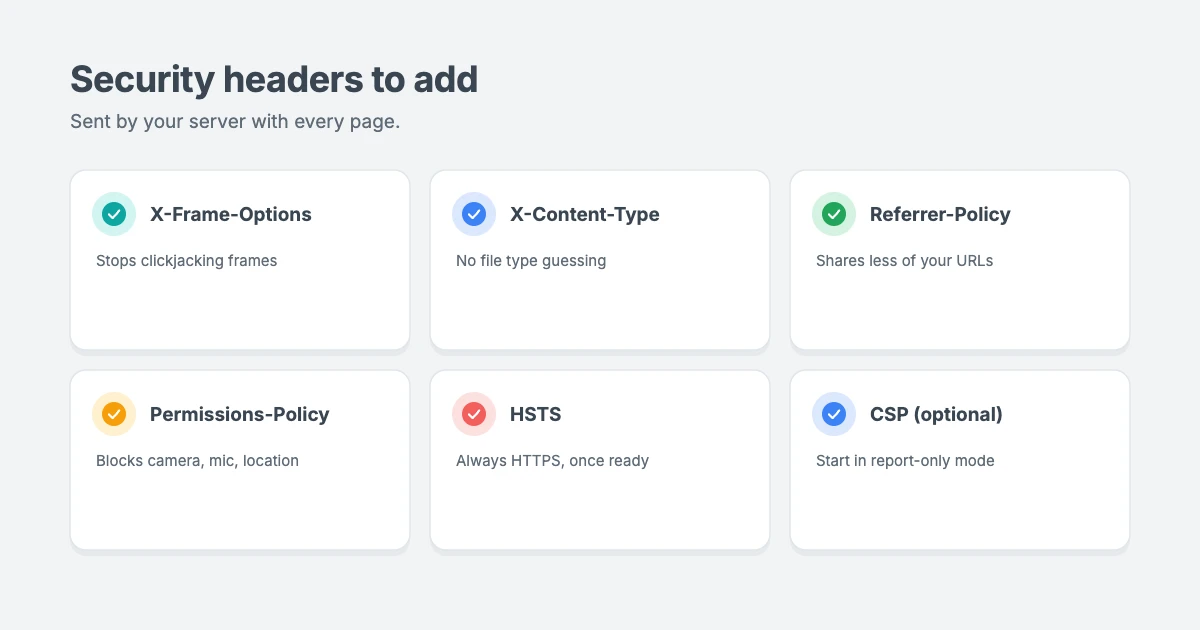
WordPress security headers are instructions your server sends with every page. They tell browsers to block common attacks, such as loading your site inside a malicious frame or guessing file types.
Add this block to your root .htaccess file, after # END WordPress and your other rules:
# BEGIN Security Headers
<IfModule mod_headers.c>
    Header always set X-Frame-Options "SAMEORIGIN"
    Header always set X-Content-Type-Options "nosniff"
    Header always set Referrer-Policy "strict-origin-when-cross-origin"
    Header always set Permissions-Policy "camera=(), microphone=(), geolocation=()"
    Header unset X-Powered-By
</IfModule>
# END Security Headers
Here’s what each one does:
- X-Frame-Options stops other sites from loading your pages inside a frame, which protects against “clickjacking”.
- X-Content-Type-Options stops browsers from guessing file types, which can be abused to run malicious files.
- Referrer-Policy limits how much of your page address is shared when visitors click a link to another site.
- Permissions-Policy stops pages from using the camera, microphone or location unless you allow it. If your site needs one of these, for example a store locator, remove it from the list.
- Header unset X-Powered-By hides which software your server runs.
Add HSTS once HTTPS works everywhere
Strict-Transport-Security (HSTS) tells browsers to always use HTTPS for your site. Only add it once your whole site, including every subdomain you use, works over HTTPS, because browsers will remember it:
<IfModule mod_headers.c>
    Header always set Strict-Transport-Security "max-age=31536000"
</IfModule>
Start with this simpler version. Only add includeSubDomains if you’re sure every subdomain uses HTTPS.
Be careful with Content-Security-Policy
A Content-Security-Policy (CSP) controls which scripts, styles, fonts and images the browser is allowed to load. It’s one of the strongest protections, but it’s also the easiest to get wrong. WordPress sites load files from many places, such as Google Fonts, analytics, video embeds and payment forms, and a strict policy can break them.
Our advice for beginners is to start in report-only mode. This shows you what would be blocked without actually blocking anything:
<IfModule mod_headers.c>
    Header always set Content-Security-Policy-Report-Only "default-src 'self'; img-src 'self' data: https:; style-src 'self' 'unsafe-inline' https:; script-src 'self' 'unsafe-inline' https:; font-src 'self' data: https:; frame-src 'self' https:"
</IfModule>
Then open your site in Chrome, right-click, choose Inspect and go to the Console tab. Visit your most important pages, including forms, shop and checkout. Any blocked resource will show as a warning. Once you’re confident the policy doesn’t block anything you need, you can change Content-Security-Policy-Report-Only to Content-Security-Policy.
If this feels like too much, it’s fine to skip CSP for now. The other headers already make a big difference.
Step 6: Check your file permissions
File permissions are an easy part of WordPress hardening to overlook. They control who can read, write and run files on your server. The WordPress team recommends these settings for most sites:
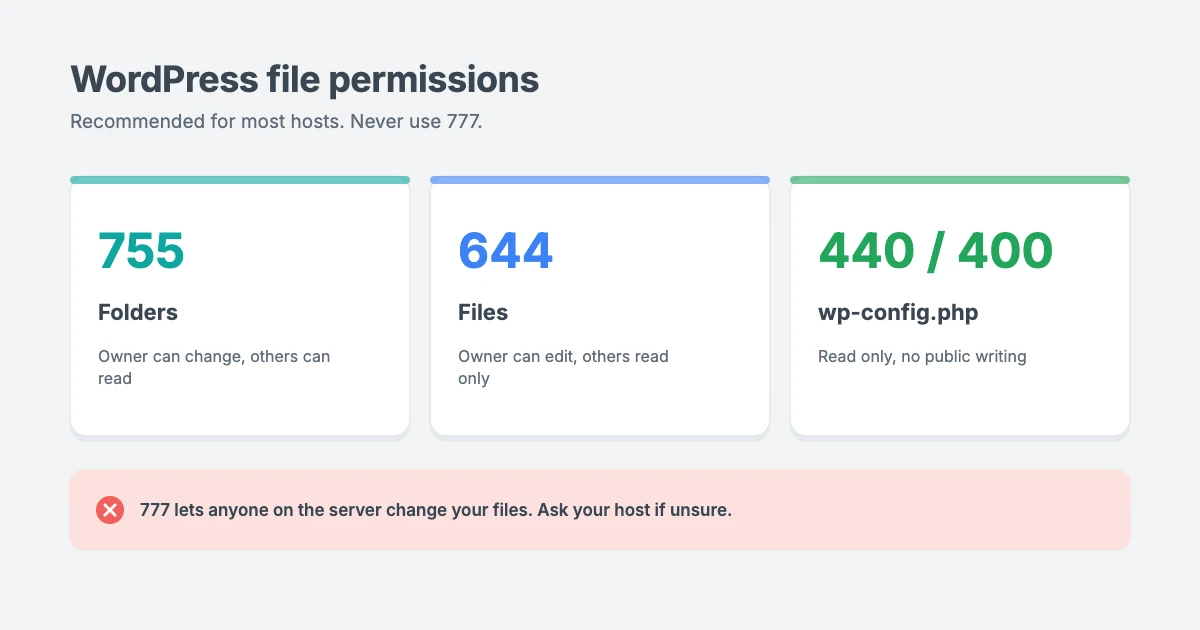
| Item | Recommended permission |
|---|---|
| Folders | 755 |
| Files | 644 |
| wp-config.php | 440 or 400 |
You can check and change permissions in your File Manager by right-clicking a file or folder and choosing Permissions or Change Permissions.
Never use 777. It lets anyone on the server change your files. If a plugin or guide tells you to use 777, don’t.
Note: some hosts need wp-config.php to be 600 or 640 instead. If your site shows an error after changing it, ask your host which setting they recommend. You can read more in the WordPress.org guide to hardening WordPress.
Step 7: Re-test your site
Once you’ve finished your WordPress hardening changes:
- Clear your site’s cache, and your browser cache, so you see the latest version.
- Run your site through Security Headers and the MDN HTTP Observatory again. Your grade should be much better.
- Check your site works normally. Visit your homepage, a few posts, your contact form, your shop and checkout if you have one, and log in to your dashboard.
Troubleshooting
My site shows a 500 Internal Server Error
A typo in .htaccess is the most common cause. Upload your backup copy of the file, then add your rules again one block at a time to find the problem. Our guide on how to fix the 500 internal server error in WordPress covers other causes too.
The headers don’t appear in my scan
Some hosts use Nginx, which ignores .htaccess files completely. Others set headers in their own control panel or at the server level. Contact your host and ask them to add the headers for you, or check if their dashboard has a security headers setting.
Something on my site stopped working
Remove the last rule you added and test again. Common culprits are the XML-RPC block (for apps and some plugins), the Permissions-Policy (for location-based features) and a Content-Security-Policy that’s too strict.
How to undo your WordPress hardening changes
Every change in this guide is easy to reverse. If you ever need to undo something you did to harden WordPress security:
- wp-config.php settings: delete the line you added, or change
truetofalse. - .htaccess rules: delete the block you added, or upload the backup copy you downloaded in Step 2.
- The uploads .htaccess file: delete the
.htaccessfile insidewp-content/uploads. - File permissions: change them back to the previous values, which you can find in your hosting File Manager.
Keeping a short note of every change you make, and when, makes this much easier. It also helps your host or developer if they ever need to troubleshoot your site.
Keep your WordPress security strong
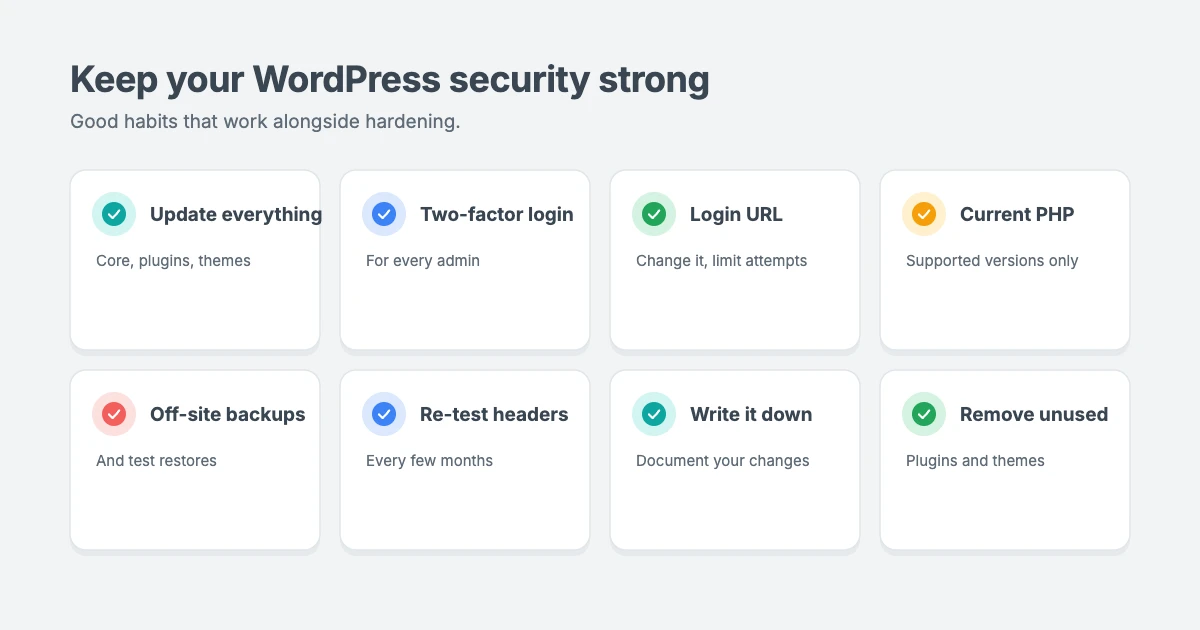
To harden WordPress security for the long term, manual hardening works best alongside good everyday habits:
- Keep WordPress, plugins and themes updated, and remove anything you don’t use.
- Use strong, unique passwords and two-factor authentication for every admin.
- Change your login URL and limit login attempts. See our guide on how to change the WordPress login URL.
- Keep PHP up to date. See our guide on how to update your PHP version.
- Take regular off-site backups and test that you can restore them.
- Re-test your headers every few months, and after moving hosts or making big changes.
- Write down what you changed, so you or your developer can find it later.
And if your site has already been hacked, start with our hacked WordPress site recovery checklist before hardening it.
Let our team harden your site for you
Not comfortable editing server files? The WPInterface team can help:
- Malware Removal and Security Hardening: we clean infected sites by hand and harden your files, settings and login, with work starting within 4 hours.
- WordPress Care Plans: weekly updates, daily off-site backups and security monitoring, so problems are caught early.
- VIP Support: a $29 priority ticket if a change breaks your site and you need quick help.
You can also see all our professional WordPress services.
Frequently asked questions
Do I still need a security plugin if I harden WordPress manually?
Yes, in most cases. When you harden WordPress security manually, you’re doing a different job from a security plugin. Plugins scan for malware, block bad logins and alert you to problems, while manual hardening closes gaps at the server and configuration level.
Is it safe to edit .htaccess?
Yes, as long as you keep a backup, add rules after the # END WordPress line and test your site after each change. If something goes wrong, upload your backup copy.
Will security headers break my site?
The basic headers in this guide rarely cause problems. A Content-Security-Policy is the one most likely to break things, which is why we recommend starting in report-only mode.
Should I block xmlrpc.php?
If you don’t use the WordPress mobile app, Jetpack or another service that connects through XML-RPC, blocking it reduces brute force attacks. If something stops working after you block it, remove the rule.
What file permissions should WordPress use?
Folders should be 755, files 644 and wp-config.php 440 or 400 on most hosts. Never use 777.
My host uses Nginx. What should I do?
Nginx doesn’t read .htaccess files. Ask your host to add the security headers and file protection rules at the server level, or use their control panel if it has a security settings section.
Conclusion
You don’t need to be a developer to harden WordPress security. By testing your site, backing up your files, adding a few lines to wp-config.php, protecting sensitive files with .htaccess, adding security headers and checking your file permissions, you can close many of the gaps that security plugins leave open.
Make one change at a time, test after each one and keep a note of what you’ve done. Your wp-config.php security settings, .htaccess rules and WordPress security headers will keep working quietly in the background. Combined with regular updates, strong passwords and good backups, these small steps make your site a much harder target.
Reactions
How did this make you feel?
Be the first to react
One reaction per visitor. Tap again to change or remove it.






Leave a reply