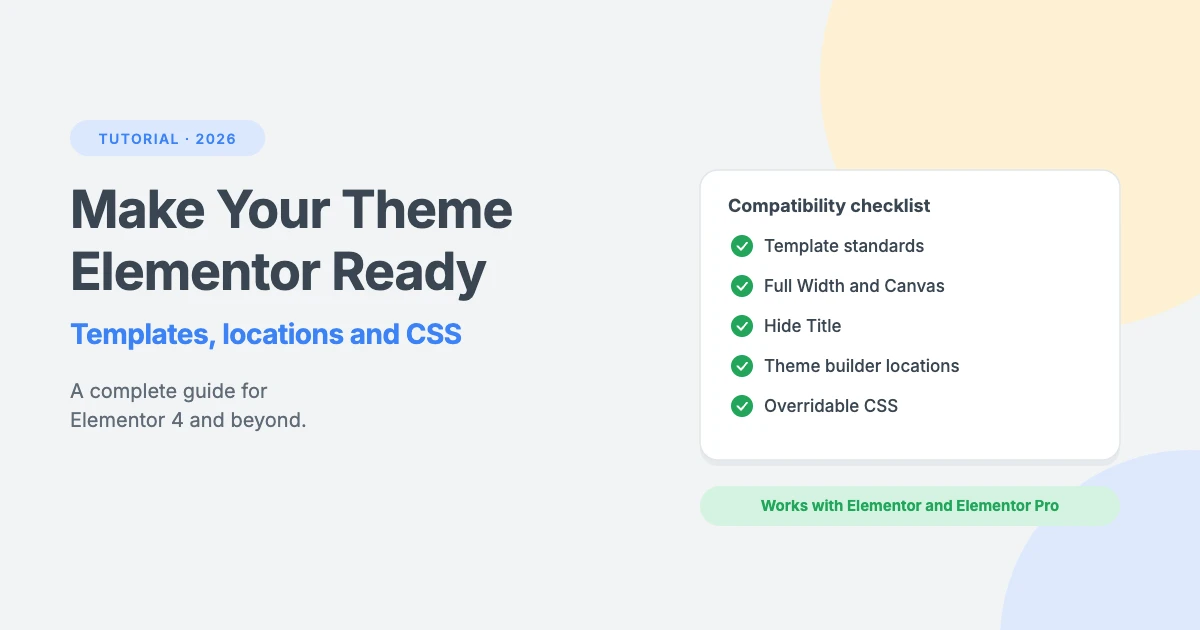
Elementor has changed a lot since the first “make your theme Elementor compatible” tutorials were written. In 2026, Elementor is on version 4, with a new Atomic Editor, global classes and variables, and a Pro theme builder that can replace your headers, footers, single templates and archives.
But one thing hasn’t changed: Elementor still relies on your theme for the basics. If your theme forces a narrow container, styles everything with !important or ignores WordPress standards, Elementor layouts will look broken, no matter how good the page builder is.
In this tutorial, we’ll show you how to make a WordPress theme fully Elementor compatible in 2026, from the basic template requirements to Elementor’s page templates, the Pro theme builder, global colours and editor testing. Every code example is based on Elementor’s own developer documentation and source code.
What “Elementor compatible” means in 2026
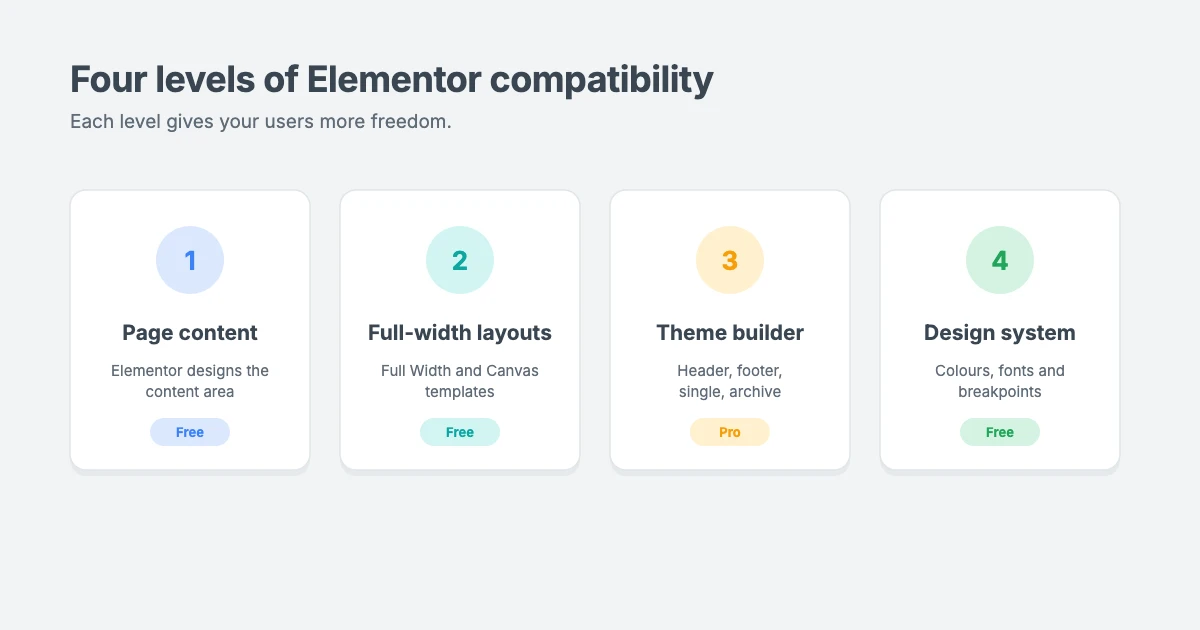
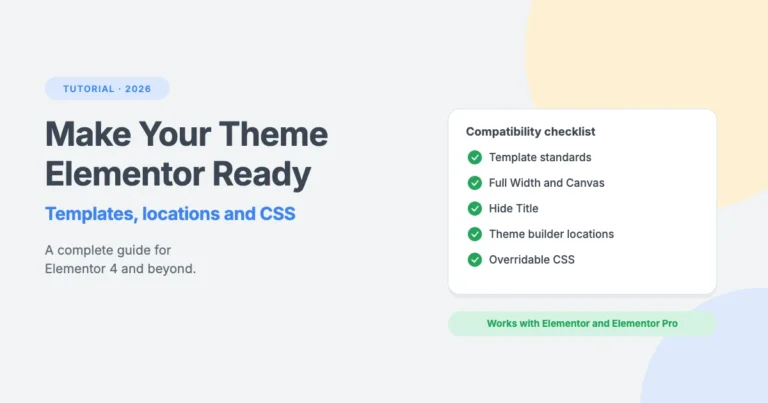
A theme can be Elementor compatible at four different levels. The more levels you support, the more freedom your users have:
- Page content: Elementor designs the content area of a page or post. This works with the free version of Elementor and only needs a standards-compliant theme.
- Full-width layouts: your theme lets Elementor’s Elementor Full Width and Elementor Canvas page templates use the full width of the screen.
- Theme builder locations: with Elementor Pro, users can replace your theme’s header, footer, single templates and archives with their own Elementor designs. Your theme has to register these locations.
- A shared design system: your theme’s colours, fonts and breakpoints work alongside Elementor’s global settings, instead of fighting them.
What’s new in Elementor 4
At the time of writing (October 2026), Elementor is at version 4.3, which requires WordPress 6.8 or higher and PHP 7.4 or higher. Version 4 introduced a new generation of “atomic” building blocks and a design system built on Variables and Classes, so users can define colours, typography and styles once and reuse them everywhere.
For theme developers, this makes one rule more important than ever: your theme’s CSS must be easy to override. The more your theme styles headings, links and buttons with heavy selectors, the harder it becomes for users’ Elementor classes to take effect.
Classic themes vs block themes
Elementor’s theme builder works through PHP template functions, such as get_header(), get_footer() and the elementor_theme_do_location() function you’ll see below. That’s why this tutorial focuses on classic PHP themes. Elementor’s own Hello Elementor theme is a classic theme built this way.
If you build a block theme, Elementor can still design page content, but the theme location code in this guide is written for classic templates.
Before you start
- Work on a staging site or a local development environment.
- Use a child theme if you’re making a theme you didn’t build Elementor compatible, so your changes survive theme updates.
- Install Elementor, and Elementor Pro if you want to test the theme builder.
- Replace
theme_prefixin the examples with your own theme’s unique prefix, andtheme-prefixwith your text domain.
Step 1: Follow WordPress template standards
An Elementor compatible theme starts with WordPress standards. Elementor hooks into standard WordPress functions. If any of these are missing, Elementor styles, scripts or content may not load. Your theme must:
- Call
wp_head()just before the closing</head>tag, so Elementor can load its CSS. - Call
wp_body_open()right after the opening<body>tag. Many plugins rely on this hook, which WordPress added in version 5.2. - Call
wp_footer()just before the closing</body>tag, so Elementor can load its scripts. - Use
body_class()on the<body>tag. Elementor adds classes such aselementor-template-full-widththat your CSS can target. - Use
the_content()in your singular templates. Elementor outputs its designs through the post content, so a template that only shows an excerpt, or skips the content entirely, won’t show Elementor layouts. - Add theme support for
title-tag, so WordPress manages the page title.
Step 2: Support Elementor’s page templates
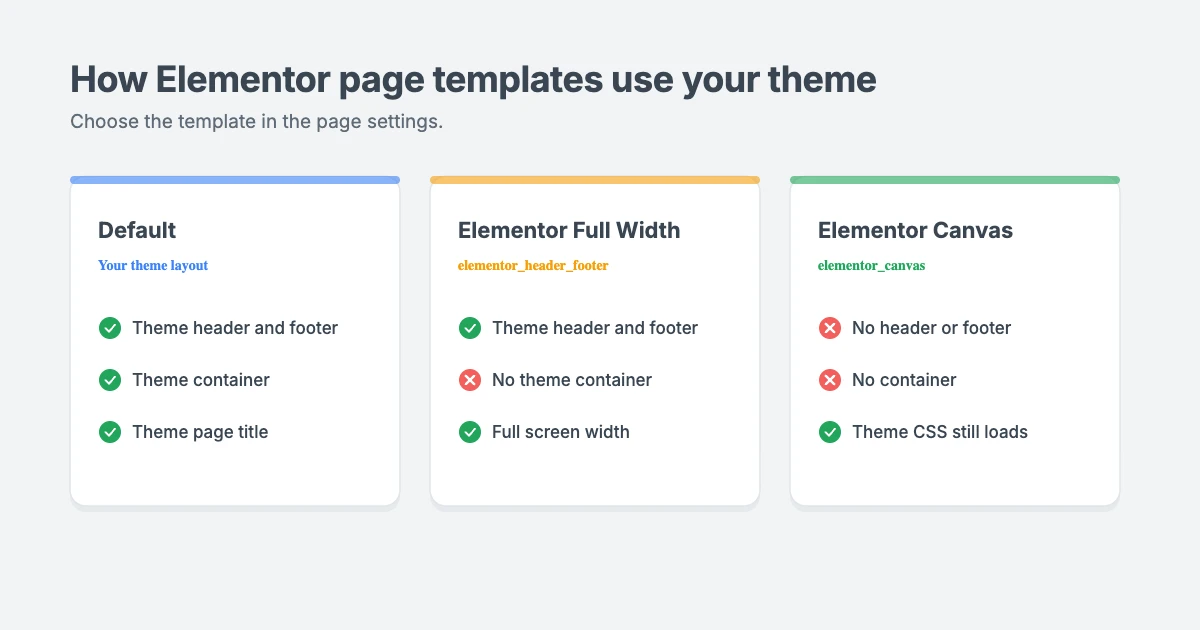
Elementor adds three options to the Template setting of every page:
- Default (Theme): your theme’s normal page template.
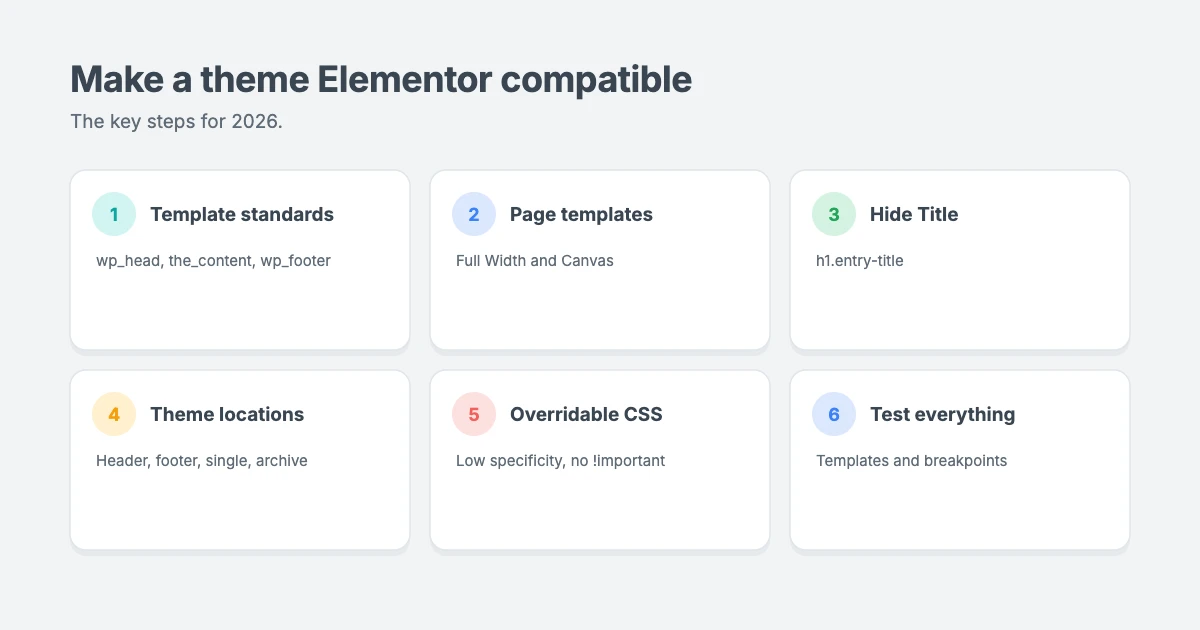
- Elementor Full Width: loads your theme’s header and footer with
get_header()andget_footer(), then prints the Elementor content in between. It adds theelementor-template-full-widthclass to the<body>. - Elementor Canvas: a blank page with no theme header or footer at all, just
wp_head(), the Elementor content andwp_footer(). It adds theelementor-template-canvasclass.
The most common compatibility problem is the Full Width template. Many themes open a fixed-width wrapper, such as <div class="container">, in header.php and close it in footer.php. Because the Full Width template still loads your header and footer, the Elementor content ends up trapped inside that narrow wrapper.
The fix is to skip the wrapper when the page uses the Full Width template. First, add a small helper function to your theme’s functions.php. The template’s internal name is elementor_header_footer:
<?php
/**
 * Is the current page using Elementor's Full Width template?
 */
function theme_prefix_is_elementor_full_width() {
    return is_singular() && is_page_template( 'elementor_header_footer' );
}
Then use it in header.php:
<!doctype html>
<html <?php language_attributes(); ?>>
<head>
    <meta charset="<?php bloginfo( 'charset' ); ?>">
    <meta name="viewport" content="width=device-width, initial-scale=1">
    <?php wp_head(); ?>
</head>
<body <?php body_class(); ?>>
<?php wp_body_open(); ?>
<a class="skip-link screen-reader-text" href="#content"><?php esc_html_e( 'Skip to content', 'theme-prefix' ); ?></a>

<?php
if ( ! function_exists( 'elementor_theme_do_location' ) || ! elementor_theme_do_location( 'header' ) ) {
    get_template_part( 'template-parts/header' );
}
?>

<div id="content" class="site-content">
<?php if ( ! theme_prefix_is_elementor_full_width() ) : ?>
    <div class="container">
<?php endif; ?>
And close the wrapper with the same condition in footer.php:
<?php if ( ! theme_prefix_is_elementor_full_width() ) : ?>
    </div><!-- .container -->
<?php endif; ?>
</div><!-- #content -->

<?php
if ( ! function_exists( 'elementor_theme_do_location' ) || ! elementor_theme_do_location( 'footer' ) ) {
    get_template_part( 'template-parts/footer' );
}
?>

<?php wp_footer(); ?>
</body>
</html>
Always use exactly the same condition in both files. If the opening and closing tags don’t match, your page layout will break.
If your theme adds padding or margins to the content area, remove them for the Full Width template in your stylesheet:
.elementor-template-full-width .site-content {
    padding: 0;
}
Remember: your theme’s stylesheet still loads on Elementor Canvas pages, because Canvas calls wp_head(). Avoid global styles that would look wrong on a blank canvas, such as a fixed background image on the <body>.
Step 3: Let users hide the page title
Elementor’s page settings include a Hide Title option. By default, it hides elements that match the h1.entry-title selector. Users can change this selector in Site Settings » Layout » Page Title Selector, but it’s much easier if your theme uses h1.entry-title for page titles from the start.
You can go one step further and skip printing the title altogether when the user has hidden it. Elementor’s own Hello theme does this by checking the page’s hide_title setting. Add this helper to functions.php:
<?php
/**
 * Should the theme print the page title?
 * Respects Elementor's "Hide Title" page setting.
 */
function theme_prefix_show_page_title() {
    if ( did_action( 'elementor/loaded' ) ) {
        $document = \Elementor\Plugin::instance()->documents->get( get_the_ID() );

        if ( $document && 'yes' === $document->get_settings( 'hide_title' ) ) {
            return false;
        }
    }

    return true;
}
Then use it in page.php, along with the theme builder code we’ll explain in the next step:
<?php get_header(); ?>

<main id="primary" class="site-main">
    <?php
    if ( ! function_exists( 'elementor_theme_do_location' ) || ! elementor_theme_do_location( 'single' ) ) {
        while ( have_posts() ) :
            the_post();
            ?>
            <article id="post-<?php the_ID(); ?>" <?php post_class(); ?>>
                <?php if ( theme_prefix_show_page_title() ) : ?>
                    <h1 class="entry-title"><?php the_title(); ?></h1>
                <?php endif; ?>

                <div class="entry-content">
                    <?php the_content(); ?>
                </div>
            </article>
            <?php
        endwhile;
    }
    ?>
</main>

<?php get_footer(); ?>
Step 4: Register Elementor Pro theme builder locations
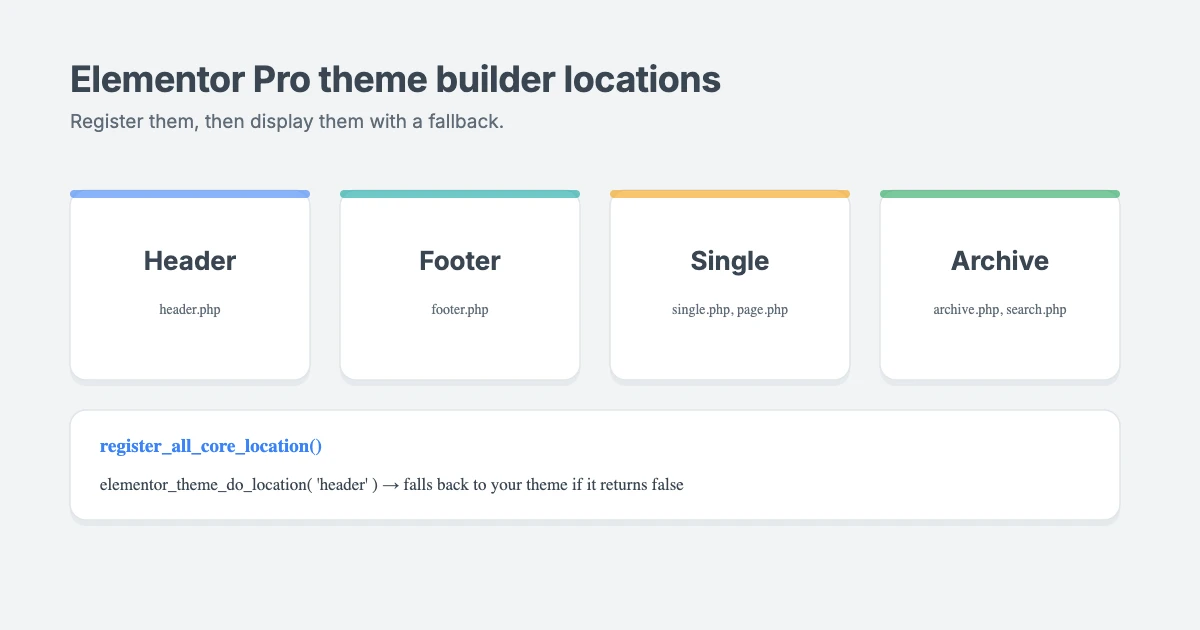
Elementor Pro’s theme builder lets users design their own headers, footers, single templates and archives. According to Elementor’s developer documentation, these are the four core locations:
- Header: replaces your theme’s
header.phpoutput. - Footer: replaces your theme’s
footer.phpoutput. - Single: replaces your singular templates, such as
single.php,page.phpand404.php. - Archive: replaces your archive templates, such as
archive.php,author.phpandsearch.php.
To support all four, register them in your theme’s functions.php:
<?php
/**
 * Register Elementor Pro theme builder locations.
 */
function theme_prefix_register_elementor_locations( $elementor_theme_manager ) {
    $elementor_theme_manager->register_all_core_location();
}
add_action( 'elementor/theme/register_locations', 'theme_prefix_register_elementor_locations' );
If you only want to support some locations, use register_location() for each one instead, for example $elementor_theme_manager->register_location( 'header' );.
Step 5: Display locations with a fallback
Registering locations tells Elementor what your theme supports. You also need to tell your templates where to display them, using elementor_theme_do_location().
This function returns true if Elementor displayed a template for that location. If it returns false, or Elementor Pro isn’t active, your theme shows its own design instead. You’ve already seen this pattern in the header.php, footer.php and page.php examples above. Here’s the same pattern in archive.php:
<?php get_header(); ?>

<main id="primary" class="site-main">
    <?php
    if ( ! function_exists( 'elementor_theme_do_location' ) || ! elementor_theme_do_location( 'archive' ) ) {
        get_template_part( 'template-parts/archive' );
    }
    ?>
</main>

<?php get_footer(); ?>
The function_exists() check is important. It means your theme keeps working normally when Elementor Pro is deactivated.
You can also register your own custom locations, such as a sidebar or a top bar, with register_location() and display them in the same way. See Elementor’s guide to displaying locations for an example.
Step 6: Write CSS that Elementor can override
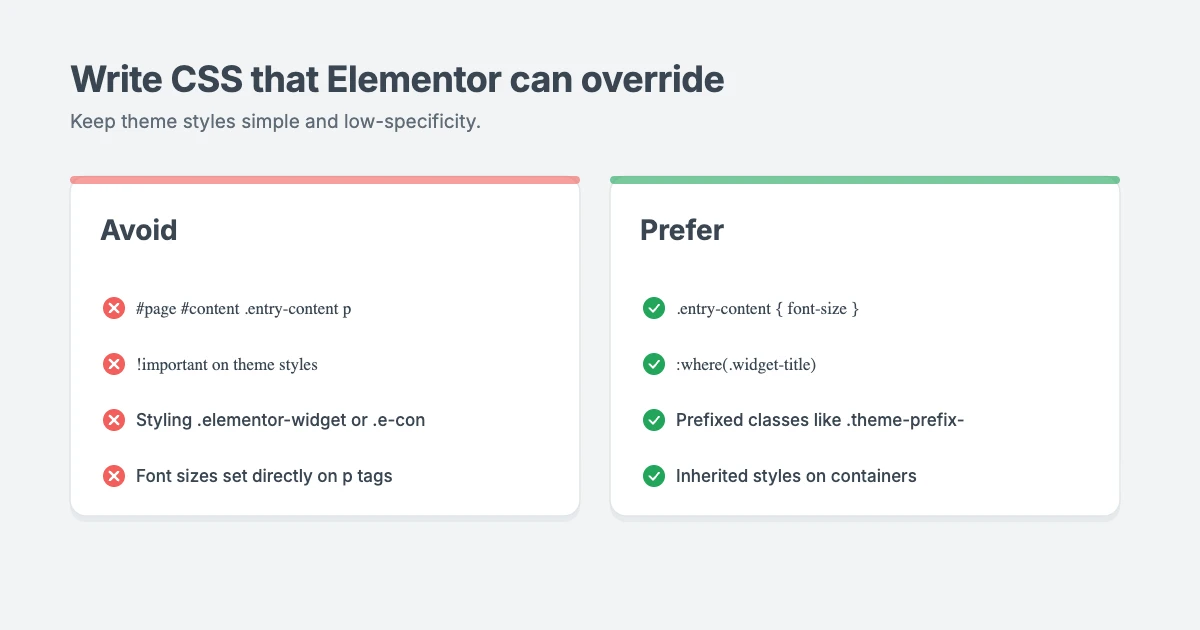
CSS is where many themes stop being Elementor compatible. Elementor applies its styles with classes. If your theme’s CSS is more specific, or uses !important, Elementor’s settings won’t take effect and users will think Elementor is broken.
Avoid styles like this:
#page #content .entry-content p {
    font-size: 17px !important;
}

#page .widget-area .widget .widget-title {
    color: #1f2937;
}
Use simple, low-specificity selectors instead, and set text styles on containers rather than on every paragraph. Text inherits styles from its parent, so a font size set on .entry-content still applies to your paragraphs, while Elementor’s own typography settings can override it. Modern CSS also gives you :where(), which adds no specificity at all, so any Elementor style can override it:
.entry-content {
    font-size: 1.0625rem;
}

:where(.widget-title) {
    color: #1f2937;
}
A few more rules of thumb:
- Don’t use
!importantin theme styles, except for accessibility helpers such as screen-reader text. - Don’t style Elementor’s own classes broadly, such as
.elementor-widgetor.e-con. Leave Elementor’s layout to Elementor. - Be careful with generic class names like
.container,.rowand.button, which may clash with classes users create in Elementor. Prefix your theme’s classes, for example.theme-prefix-container. - Keep element styles light. Global styles on
h1toh6,aandbuttonare fine, but keep them simple, and avoid setting font sizes directly onptags, because a direct style beats any typography Elementor sets on the parent widget.
Step 7: Share a design system with Elementor
Elementor has its own global colours and fonts, set in Site Settings. Your theme has its own too. Here’s how to make them work together.
Use Elementor’s global colours in your theme
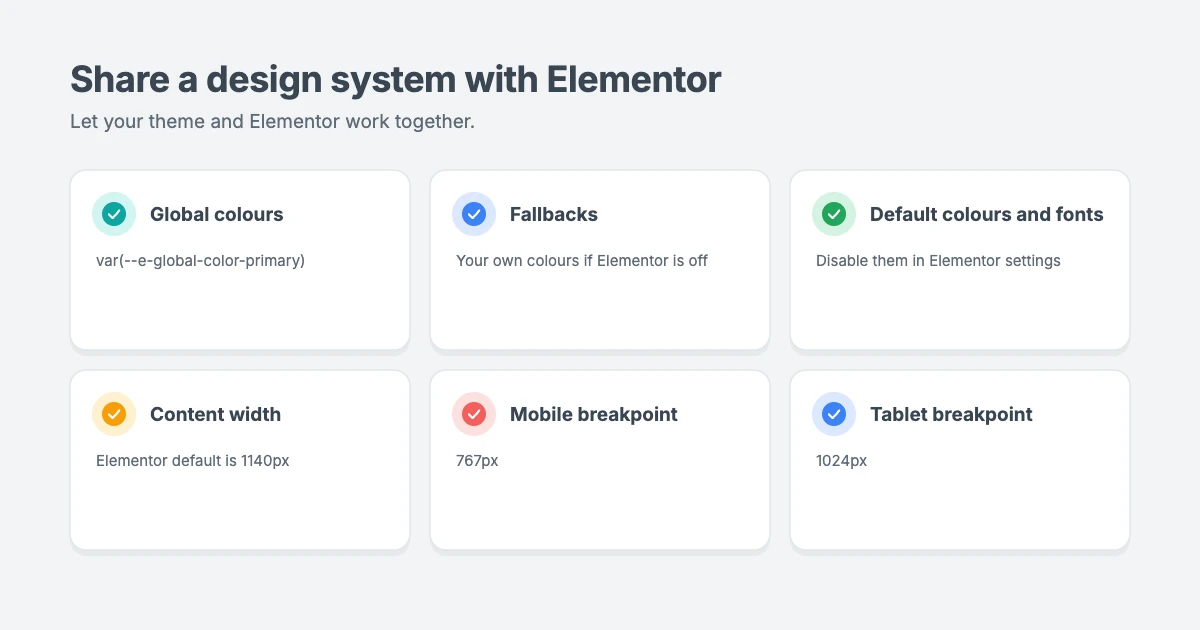
Elementor outputs its global colours as CSS custom properties, such as --e-global-color-primary, --e-global-color-secondary, --e-global-color-text and --e-global-color-accent. They’re added to the Elementor kit class on the <body> tag, so every element on the page can use them.
You can use them in your theme with a fallback to your own colours. That way, when a user changes their primary colour in Elementor, your theme’s links and buttons follow:
:root {
    --theme-prefix-primary: #2563eb;
}

a {
    color: var(--e-global-color-primary, var(--theme-prefix-primary));
}
If Elementor isn’t active, the fallback colour is used instead.
Default colours and fonts
In Elementor » Settings » General, users can tick Disable Default Colors and Disable Default Fonts. When these are ticked, new Elementor elements inherit your theme’s colours and fonts instead of Elementor’s defaults. If your theme has a strong design system, mention these settings in your theme documentation.
Match Elementor’s layout defaults
- Content width: Elementor’s default content width is 1140px, set in Site Settings » Layout. If your theme uses a similar container width, Elementor sections will line up with the rest of your site.
- Breakpoints: Elementor’s default breakpoints are 767px for mobile and 1024px for tablet. Using the same breakpoints in your theme’s CSS helps avoid layouts that change at slightly different widths.
Step 8: Play nicely with the Elementor editor
The Elementor editor shows a live preview of your site, including your theme’s scripts. Some front-end scripts, such as smooth scrolling, sticky headers or animation libraries, can make the editor preview jumpy or hard to use.
You can skip scripts in the editor preview with Elementor’s is_preview_mode() method:
<?php
/**
 * Don't load front-end-only scripts inside the Elementor editor preview.
 */
function theme_prefix_scripts() {
    $is_elementor_preview = did_action( 'elementor/loaded' )
        && \Elementor\Plugin::$instance->preview->is_preview_mode();

    if ( ! $is_elementor_preview ) {
        wp_enqueue_script(
            'theme-prefix-smooth-scroll',
            get_template_directory_uri() . '/assets/js/smooth-scroll.js',
            array(),
            '1.0.0',
            true
        );
    }
}
add_action( 'wp_enqueue_scripts', 'theme_prefix_scripts' );
A few more editor tips:
- Custom post types: users can choose which post types Elementor works with in Elementor » Settings » General » Post Types. If your theme registers custom post types, mention this in your documentation.
- Content width: set a sensible
$content_widthfor embedded media. Elementor’s Hello theme uses 800px. - Translation and RTL: test the editor and front end with a right-to-left language, as Elementor supports RTL layouts and so should your theme.
Step 9: Test your theme with Elementor
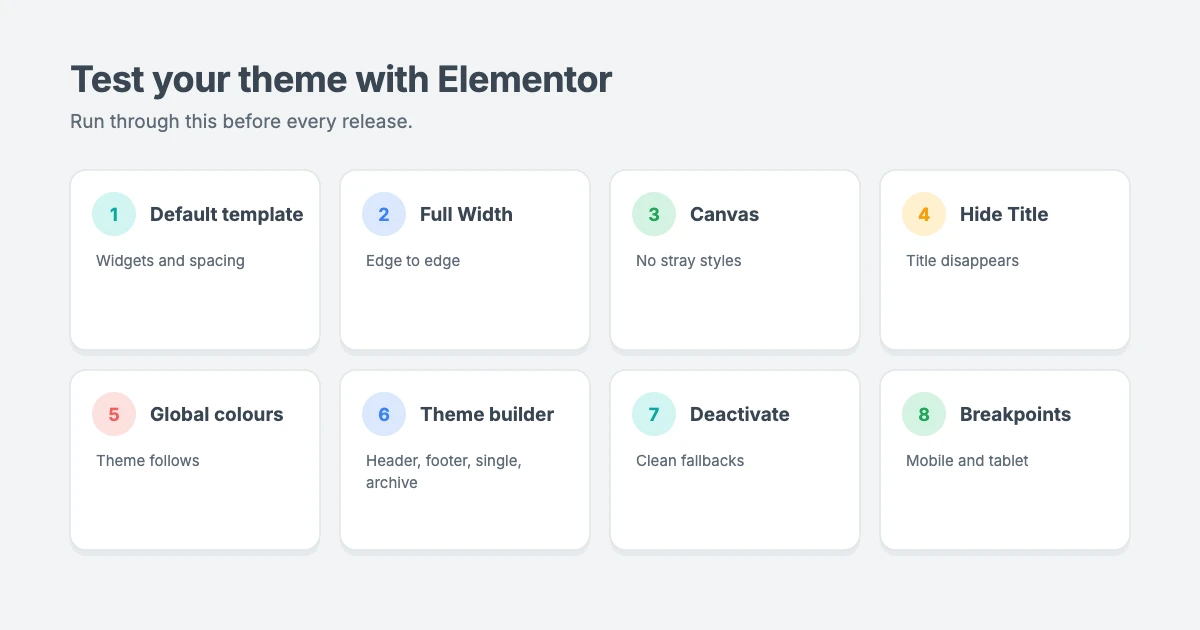
Before you release your Elementor compatible theme, test it with this checklist:
- Create a page with the Default template and add a few Elementor widgets. Check the spacing and fonts.
- Switch to Elementor Full Width. The content should stretch edge to edge, with your header and footer still visible.
- Switch to Elementor Canvas. You should see only the Elementor content, with no stray theme styles.
- Turn on Hide Title in the page settings. The page title should disappear.
- Change the global colours and fonts in Site Settings. Elementor content should update, and so should any theme elements that use the global colour variables.
- Build a header and footer with the Elementor Pro theme builder, then a single post template and an archive template. Each one should replace your theme’s version.
- Deactivate Elementor Pro, then Elementor. Your theme should fall back to its own header, footer and templates, with no errors.
- Check every breakpoint in Elementor’s responsive mode and on real devices.
- Test with your browser’s developer tools open and check the console for JavaScript errors in the editor.
Common Elementor theme problems and how to fix them
- Full Width pages are still narrow: your theme wraps the content in a container. Skip it for the
elementor_header_footertemplate, as shown in Step 2. - Elementor styles don’t apply: your theme’s CSS is too specific or uses
!important. Simplify your selectors, as shown in Step 6. - Hide Title doesn’t work: your theme’s title doesn’t use
h1.entry-title. Change your markup, or ask users to update the Page Title Selector. - The theme builder header doesn’t replace the theme header: your theme hasn’t registered the locations, or
header.phpdoesn’t callelementor_theme_do_location( 'header' ). - Elementor content doesn’t appear at all: your template doesn’t call
the_content(). - The editor won’t load or keeps spinning: check the browser console for JavaScript errors, often caused by theme or plugin scripts running in the editor preview.
Ready-made Elementor compatible themes from WPInterface
If you’d rather start with a theme that’s already Elementor compatible, WPInterface Pro themes are lightweight, translation ready and RTL compliant.
Corporate Interface Pro
Corporate Interface Pro is a modern corporate theme for companies, agencies and consultants, built for Elementor, with services, client stories, results and a booking button.

Coworking Interface Pro
Coworking Interface Pro is a fast coworking space theme built for Elementor, with workspace, pricing, testimonial and booking sections.

You can see all our themes on the WordPress themes page. If you use Elementor’s free version, our guide on how to remove Elementor upsells shows you how to tidy up your dashboard.
Need a hand?
The WPInterface team can help you build or adapt a theme for Elementor:
- WordPress Theme Customization: we tailor your theme to your brand and make it work smoothly with Elementor.
- Custom WordPress Development: custom themes and features, built to WordPress standards.
- WordPress Speed Optimization: faster Elementor sites and better Core Web Vitals, starting with a free speed audit.
- VIP Support: a $29 priority ticket for quick expert help.
Frequently asked questions
Is every WordPress theme Elementor compatible?
Most well-coded themes work with Elementor’s page content, because Elementor uses standard WordPress functions. Making a theme fully Elementor compatible, including full-width layouts and the Pro theme builder, needs the extra steps in this guide.
Do I need Elementor Pro to make my theme Elementor compatible?
No. Steps 1 to 3 and 6 to 9 work with the free version of Elementor. Theme builder locations, in Steps 4 and 5, only matter for Elementor Pro users, but adding them doesn’t affect anyone else.
What’s the difference between Elementor Full Width and Elementor Canvas?
Elementor Full Width keeps your theme’s header and footer and lets the content use the full screen width. Elementor Canvas removes the theme header and footer entirely, leaving a blank page for Elementor content.
Does Elementor work with block themes?
Elementor can design page content with most themes. Its theme builder locations, however, are designed for classic PHP templates such as header.php and footer.php, so classic themes give Elementor Pro users the most control.
Why aren’t my Elementor styles showing up?
Usually, the theme’s CSS is overriding Elementor. Look for selectors with IDs or !important in your theme’s stylesheet and simplify them.
Do I need to change my theme for Elementor 4?
If your theme already follows the steps in this guide, it should work well with Elementor 4. The main thing to check is that your CSS is easy to override, so users’ Elementor classes and variables can take effect.
Final thoughts
Making a theme Elementor compatible in 2026 isn’t about special Elementor code. It’s mostly about following WordPress standards, staying out of Elementor’s way and adding a few small hooks for the features users love most.
Start with the template basics, support the Full Width template and Hide Title, register theme builder locations and keep your CSS easy to override. Then test every template and breakpoint, and your theme will be fully Elementor compatible.
Reactions
How did this make you feel?
Be the first to react
One reaction per visitor. Tap again to change or remove it.



Leave a reply