Updating a plugin on a live site and hoping for the best is a risky habit. A WordPress staging site gives you a safe place to test changes before your visitors ever see them.
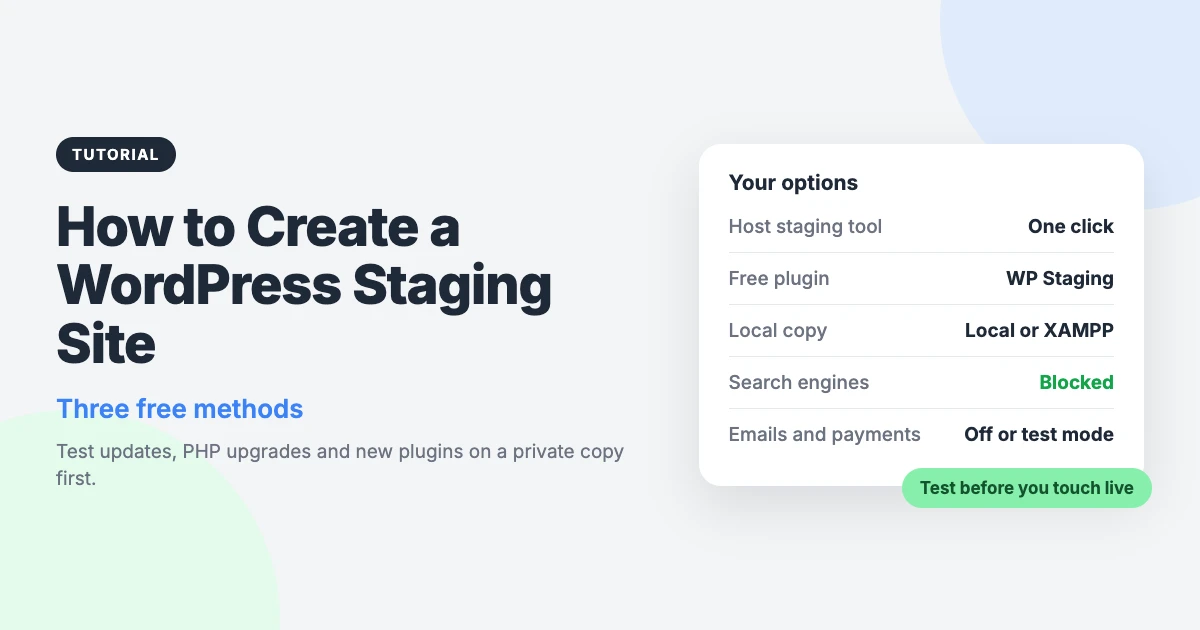
You don’t need to pay for one. If you want to create a staging site, WordPress gives you three free routes: your host’s tool, a free plugin, or a copy on your own computer.
This tutorial walks you through all three, explains which one suits your site, and shows you how to move changes back to live without losing data.
What is a WordPress staging site?
A staging site is a private copy of your live site that you use for testing. It has the same theme, plugins, content and settings, but only you can see it.
Because it is a copy, you can break it without consequences. If an update causes an error on staging, your real site carries on as normal while you work out what went wrong.
A staging environment for WordPress is most useful for changes that are hard to undo:
- Updates. Test WordPress core, theme and plugin updates before you run them on live.
- PHP upgrades. Check that your theme and plugins work on a newer version before you update PHP in WordPress.
- New plugins. Try something from our list of the best free WordPress plugins and see whether it conflicts with what you already use.
- Redesigns. Switch theme, rebuild your homepage or change your menus without visitors watching the work in progress.
Staging doesn’t replace backups. It sits alongside them, and alongside a rollback plan for the times something slips through anyway.
Before you start
Three quick checks will save you trouble later.
Back up your live site
Take a full backup of your files and database, and make sure you know how to restore it. Creating a copy shouldn’t touch your live site, but a backup costs you nothing.
Check your disk space
A staging copy made by your host or a plugin usually lives on the same server as your live site. That means it can use up part of your disk allowance.
A site with a large media library needs roughly the same space again for a full copy. Our guide to WordPress storage shows you how to check what you’re using.
Note what changes on live while you work
Your live site keeps running after you copy it. New orders, comments, form entries and user accounts arrive on live, not on staging.
Write down what kind of data your site collects. You’ll need that list when you move changes back, because it tells you what you must not overwrite.
Method 1: Use your host’s staging tool
Many hosts include one-click staging in their control panel. If yours does, this is usually the easiest way to get free WordPress staging, as it’s already part of your plan.
Every host lays this out differently, so check your host’s documentation for the exact names. The general steps look like this:
- Log in to your hosting control panel and open the section for your WordPress site.
- Look for an option called Staging, Clone or similar.
- Choose to create a staging copy. Your host may ask for a name or a subdomain.
- Wait for the copy to finish. Large sites take longer.
- Open the staging address your host gives you and log in with your usual WordPress details.
- Make and test your changes on the copy.
Pros: nothing to install, the copy runs on the same server software as your live site, and many host tools can push changes back to live for you.
Cons: not every host or plan includes it, and the features vary. Some tools push everything at once, which matters if your live database has changed since you made the copy.
Method 2: Create a staging site with a free plugin
If your host has no staging tool, a free WordPress staging plugin can do the job. We’ll use WP Staging, which is available in the WordPress.org plugin directory.
It creates a staging copy in a subfolder of your existing site. Menu labels can change between plugin versions, so treat the names below as a guide.
- Install the plugin. Go to Plugins » Add New Plugin, search for “WP Staging”, then click Install Now and Activate.
- Create the staging copy. Open the WP Staging menu in your dashboard and choose the option to create a new staging site. Give it a short name, such as “test”.
- Wait for the clone to finish. The plugin copies your database tables and files. Keep the tab open until it tells you the copy is ready.
- Open the copy. The plugin shows you a link to the new site. It sits in a subfolder, so the address is your domain followed by the name you chose.
- Log in. Use the same username and password as your live site. The copy has its own dashboard.
- Test. Run your updates, install the new plugin or change the design. Then check your key pages, forms and checkout.
Before you change anything, confirm which site you’re on. Check the address bar every time, as the two dashboards look almost identical.
What the free version does and doesn’t do
The free version is known for one job: creating the clone. That is enough to test an update or a new plugin safely.
Pushing changes from staging back to live is a feature of the paid version. With the free version, you repeat the change on your live site by hand, or use your host’s tool instead.
For most testing, that’s fine. Once you know an update works on the copy, running the same update on live takes a few clicks.
Method 3: Make a local copy
The third option keeps the copy off your server altogether. You run WordPress on your own computer and import your site into it.
Two free tools are popular for this: Local and XAMPP. Local is built for WordPress, while XAMPP is a general web server package you set up yourself. Our Local vs XAMPP comparison helps you choose.
The general process is the same with either tool:
- Install Local or XAMPP on your computer and create a new, empty WordPress site.
- On your live site, use a free backup or migration plugin to export a full copy of your files and database.
- Install the same plugin on the local site and import the export file.
- Log in to the local site with your live username and password, then start testing.
Check the plugin’s documentation before you begin. Some free versions limit the size of the file you can import.
Pros: it uses no hosting disk space, search engines and visitors can’t reach it, and it works whichever host you use.
Cons: it takes longer to set up, and your computer isn’t an exact match for your server. A different PHP version or server setting can hide a problem, or create one that doesn’t exist on live.
There’s also no button to push changes back. You repeat them on live, or export the local site and import it, with the database risks covered below.
Which method should you use?
Start with your host’s tool if you have one. Use the plugin if you don’t, and go local for bigger projects or when disk space is tight.
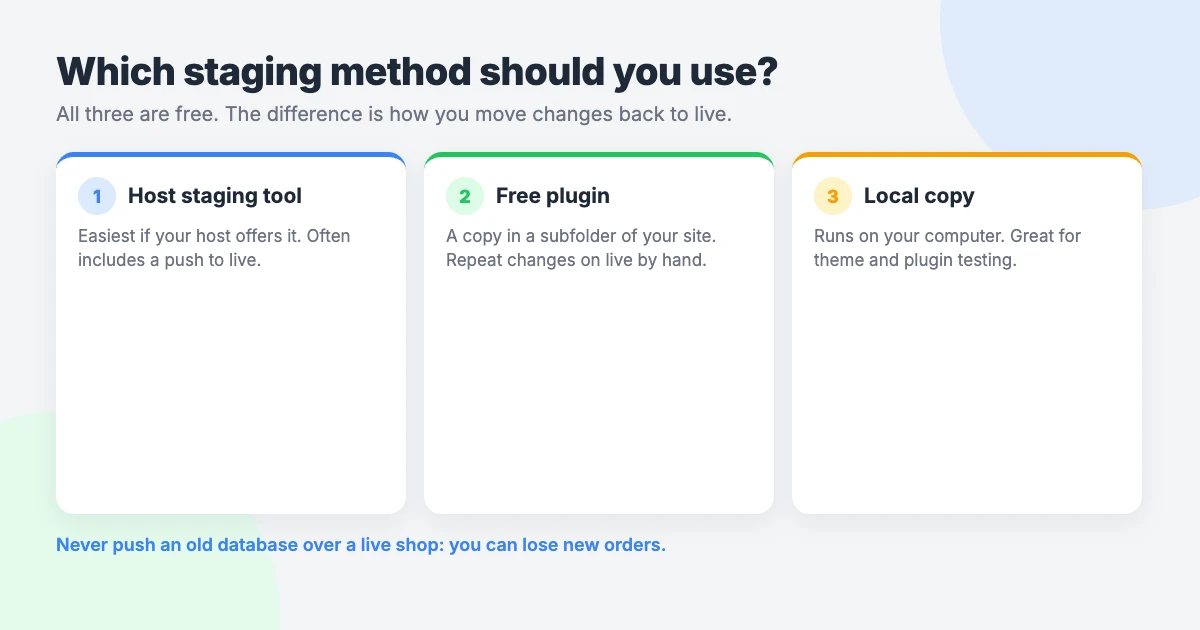
| Method | Best for | Push changes to live? | Cost |
|---|---|---|---|
| Host’s staging tool | Quick tests on a server that matches live | Often yes, depending on your host | Free where your plan includes it |
| Free plugin (WP Staging) | Sites whose host has no staging tool | Not in the free version; repeat the change on live | Free |
| Local copy (Local or XAMPP) | Redesigns, longer projects and limited disk space | No; repeat the change or export and import | Free |
How to use your WordPress staging site safely
A copy of your site can send real emails and take real payments unless you stop it. Go through this list as soon as the copy is ready.
- Keep it out of search. On the staging copy only, go to Settings » Reading and tick “Discourage search engines from indexing this site”. Never tick it on live.
- Password-protect it if you can. Many hosts let you add a password to a folder or subdomain. That keeps out visitors as well as search engines.
- Disable outgoing emails. Otherwise customers and subscribers may get order updates, reminders or newsletters from your test copy.
- Put payment gateways in test mode. Switch each gateway to its test or sandbox mode, or disable it, so nobody is charged by accident.
- Don’t overwrite newer live data. Orders, comments and form entries that arrived after you made the copy exist only on live.
- Delete old staging copies. A forgotten copy uses disk space and runs outdated plugins. Remove it when you’ve finished and make a fresh one next time.
Staging works best as a routine. Add “test on staging first” to your WordPress maintenance checklist so it happens before every round of updates.
Moving changes from staging to live
Testing is half the job. You then need to get the change from your WordPress staging site onto live, and you have three free options.
Option 1: Use your host’s push tool
If you created the copy with your host’s tool, look for a push or deploy option. Some hosts let you choose between files, the database, or both.
Take a fresh backup of live first. Then read what the tool will replace before you confirm.
Option 2: Repeat the change on live
This is the safest route, and the one to use with the free version of WP Staging. Staging told you the update works, so now you run the same update on live.
Keep notes as you test. A short list of what you changed, in order, makes the repeat quick and hard to get wrong.
Option 3: A careful file-only push
Some changes live entirely in files, such as edits to a child theme. You can copy just those files to live with your host’s tool, file manager or SFTP.
Copy only the folders you changed, and back up the live versions first. Leave the uploads folder and the wp-config.php file alone.
Be careful with the database
Your database holds your posts, settings, orders, comments and form entries. Pushing the staging database to live replaces the live one with an older copy.
On a shop, a membership site or a busy blog, that can wipe out anything that arrived since you made the copy. Newer live data is overwritten, and only a backup brings it back.
If your site collects data every day, avoid database pushes. Repeat the change on live instead, at a quiet time.
Would you rather hand this over? Our VIP Support team can test and apply a change for you for a $29 ticket. For ongoing updates and backups, see what a WordPress care plan covers.
Frequently asked questions
Is a WordPress staging site free?
It can be. Many hosts include staging in their control panel, the free version of WP Staging creates a copy at no cost, and Local and XAMPP are free to download. You pay only if you want extras, such as a plugin that pushes changes back to live.
Will a staging site affect my SEO?
Not if you keep it private. Tick “Discourage search engines” under Settings » Reading on the staging copy only, and password-protect it if your host allows. A local copy can’t be reached by search engines at all.
Can I create a staging site without a plugin?
Yes. Your host’s one-click staging tool needs no plugin at all. A local copy made with Local or XAMPP is another route, although most people use a backup plugin to move the site across.
How do I push staging to live?
Use your host’s push tool if it has one, or repeat the tested change on your live site. The free version of WP Staging creates the copy but doesn’t push it. Back up live first, and avoid overwriting the live database on sites with orders, comments or form entries.
Should I delete my staging site?
Yes, once your changes are live and working. An old WordPress staging site takes up disk space and quickly falls out of date. Creating a fresh copy before your next round of testing gives you a more accurate result.
Reactions
How did this make you feel?
Be the first to react
One reaction per visitor. Tap again to change or remove it.



Leave a reply