Moving your site to a new host, running a big update or reorganising your content? If someone publishes a post, leaves a comment or places an order while you’re working, that change can easily get lost.
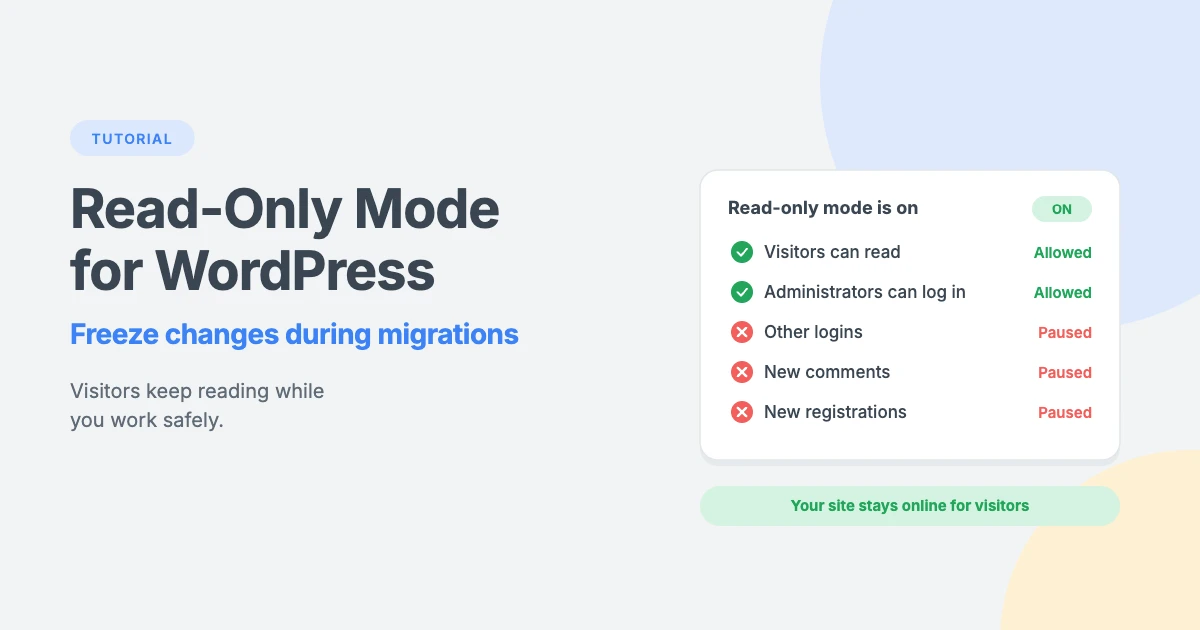
Read-only mode solves this. Your site stays online and visitors can still read every page, but nobody except you can log in or add new content until you’ve finished.
In this tutorial, we’ll show you how to put your WordPress site in read-only mode with a small code snippet, how to pause comments, forms and orders, and how to use read-only mode safely during a site migration.
What is read-only mode?
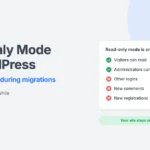
Read-only mode is a temporary state where your WordPress site is still visible, but its content can’t be changed. In practice, that usually means:
- Visitors can still browse every page and post as normal.
- Only administrators can log in, so editors, authors and other users can’t make changes.
- Comments and registrations are paused, so nothing new is added to your database.
- You stay in control, so you can finish your work and switch read-only mode off again.
WordPress doesn’t have a built-in read-only mode, but you can add one with a few lines of code, as we’ll show below.
When should you use read-only mode?
Read-only mode is useful any time you need your content to stay exactly the same for a while:
- Site migrations. When you move to a new host, anything added to the old site after your final backup won’t make it to the new one.
- Major updates. Big plugin, theme or WordPress updates are safer when nobody else is editing.
- Content restructuring, such as changing categories, permalinks or menus.
- Database work, such as cleaning up or optimising tables.
- Security investigations, when you want to stop changes while you check your site.
Read-only mode vs maintenance mode
These two are easy to confuse, but they do different things:
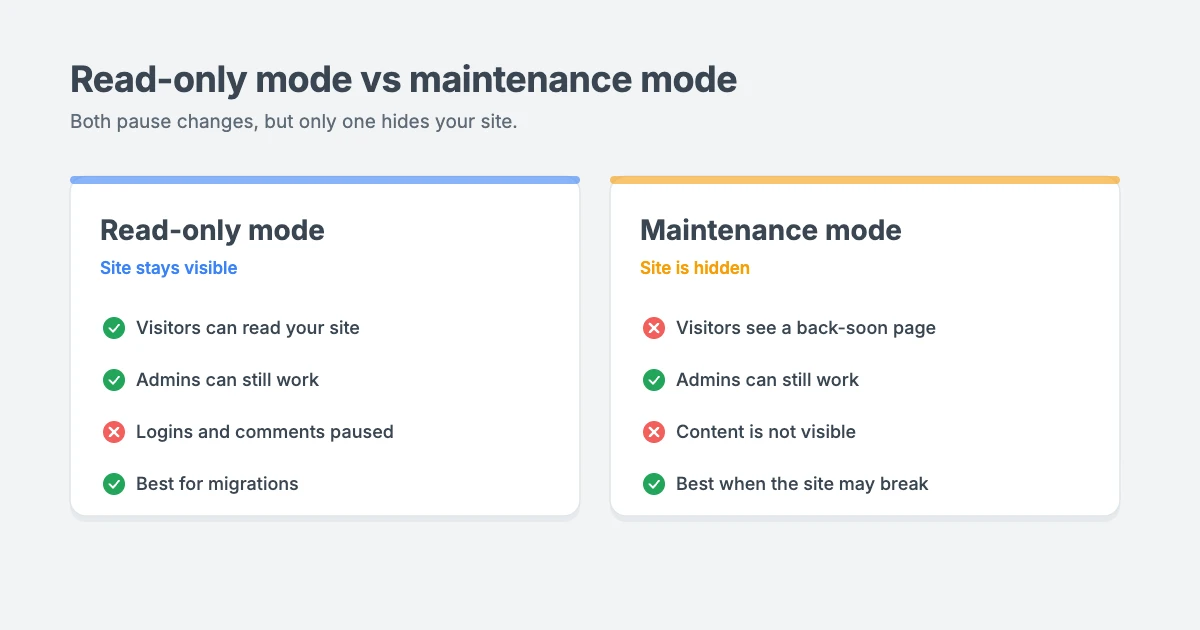
- Read-only mode keeps your site visible to visitors and only stops changes.
- Maintenance mode hides your site behind a “back soon” page, so visitors can’t see your content at all.
Use read-only mode when your site is working normally and you just need to freeze content. Use maintenance mode when your site might look broken while you work. Our guide on how to put your WordPress site in maintenance mode explains the other option.
Before you start
- Take a full backup of your files and database.
- Tell your team when read-only mode will start and end, so nobody loses work.
- Make sure you’re an administrator. The snippet below lets administrators log in, but blocks everyone else.
- Have a way back in. Know how to reach your site’s files through your hosting file manager or FTP, in case you need to switch the snippet off.
Step 1: Add the read-only mode snippet
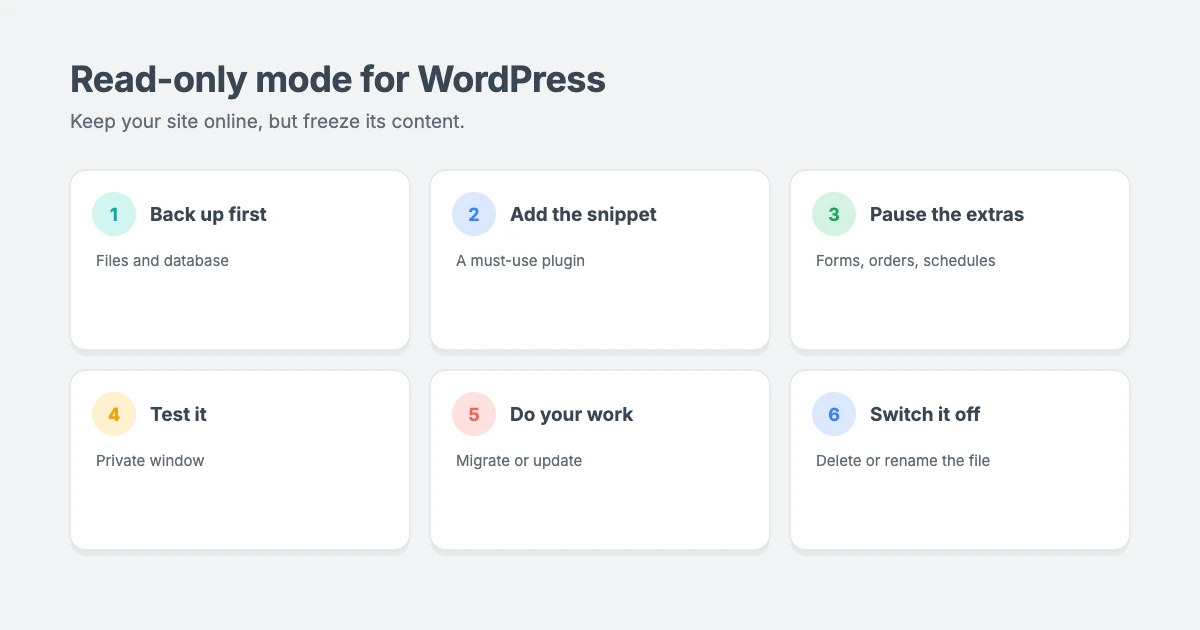
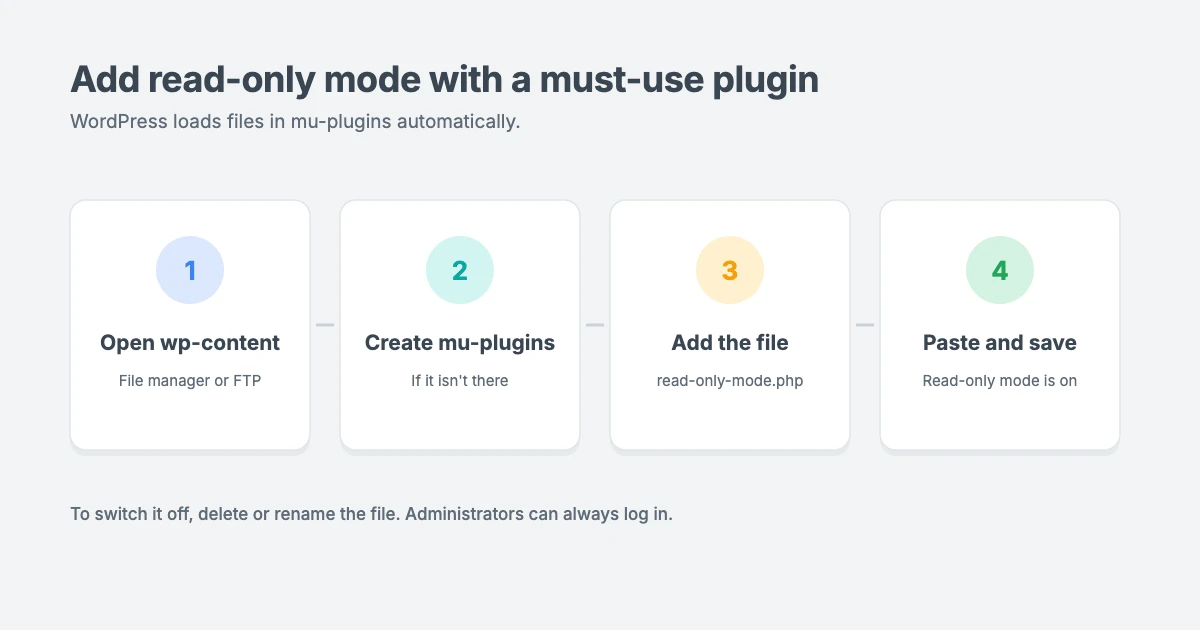
The easiest way to switch read-only mode on and off is with a small “must-use” plugin. WordPress loads must-use plugins automatically, so there’s nothing to activate.
- Connect to your site using your hosting file manager or an FTP client.
- Open the
wp-contentfolder. If there’s nomu-pluginsfolder inside it, create one. - Create a new file called
read-only-mode.phpinsidewp-content/mu-plugins/. - Paste in this code and save the file:
<?php
/**
 * Plugin Name: Read-Only Mode
 * Description: Temporarily stops logins, comments and registrations for everyone except administrators.
 */

defined( 'ABSPATH' ) || exit;

// 1. Only administrators can log in.
add_filter( 'authenticate', function ( $user ) {
    if ( $user instanceof WP_User && ! user_can( $user, 'manage_options' ) ) {
        return new WP_Error(
            'wpi_read_only',
            'The site is in read-only mode for maintenance. Please try again later.'
        );
    }
    return $user;
}, 100 );

// 2. Log out anyone else who is already logged in.
add_action( 'init', function () {
    if ( is_user_logged_in() && ! current_user_can( 'manage_options' ) ) {
        wp_logout();
        wp_safe_redirect( home_url( '/' ) );
        exit;
    }
} );

// 3. Close comments and pings everywhere.
add_filter( 'comments_open', '__return_false', 100 );
add_filter( 'pings_open', '__return_false', 100 );

// 4. Pause new user registrations.
add_filter( 'pre_option_users_can_register', '__return_zero' );

// 5. Remind administrators that read-only mode is on.
add_action( 'admin_notices', function () {
    if ( current_user_can( 'manage_options' ) ) {
        echo '<div class="notice notice-warning"><p><strong>Read-only mode is on.</strong> Only administrators can log in, and comments and registrations are paused.</p></div>';
    }
} );
Make sure the file sits directly inside mu-plugins, not in a subfolder, because WordPress doesn’t load must-use plugins from subfolders automatically. As soon as the file is saved, read-only mode is on. You can also add the same code, without the opening <?php line and the comment block, with a code snippets plugin, then activate or deactivate the snippet to switch read-only mode on and off.
What the read-only mode snippet does
Here’s what each part of the code does:
- Only administrators can log in. Anyone else who tries to log in sees a message saying the site is in read-only mode.
- Other users are logged out. If an editor or customer is already logged in, they’re logged out the next time they load a page.
- Comments and pings are closed on every post and page.
- New registrations are paused, even if your site normally lets people register.
- Administrators see a reminder at the top of the dashboard, so you don’t forget read-only mode is on.
You can change the login message to suit your site, for example by adding the time you expect to finish.
Step 2: Pause forms, orders and scheduled posts
The snippet stops logins, comments and registrations, but a few other things can still add data to your site. Check these too:
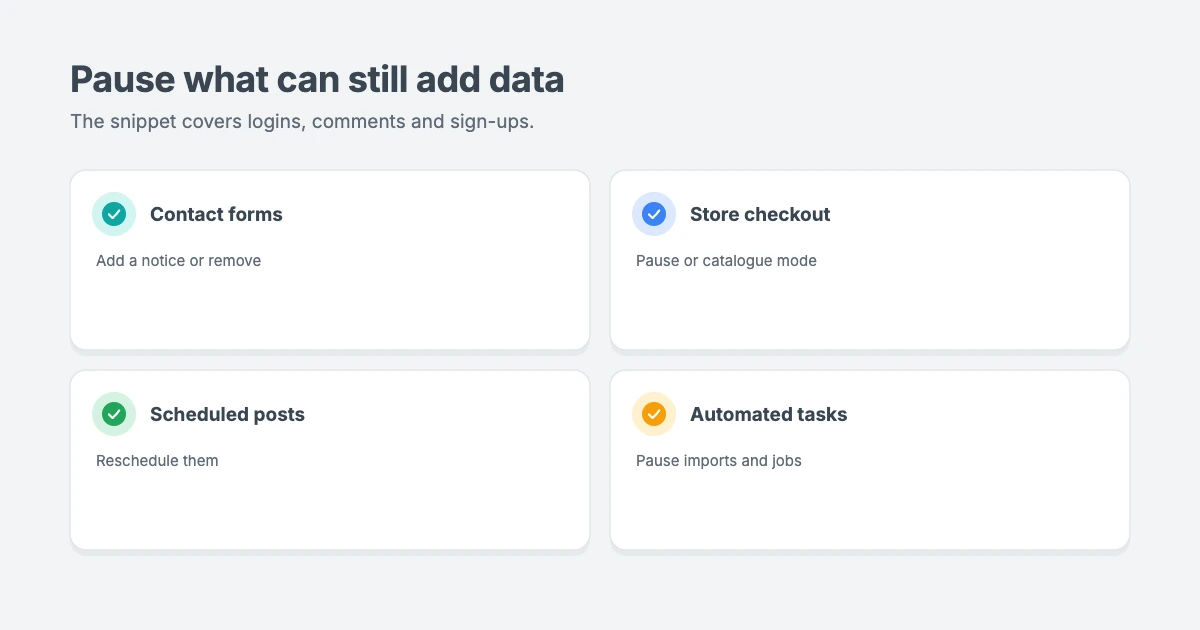
- Contact forms. Most form plugins still accept submissions. Edit the page to add a short notice, such as “Our contact form is paused until 3 pm. Please email us instead”, or temporarily remove the form.
- Online store orders. Guests may still be able to check out. If you run a store, pause checkout or put the store in a catalogue-only mode while you work, and show a notice to shoppers.
- Scheduled posts. WordPress will still publish posts scheduled for that time. Reschedule them for after your maintenance window.
- Automated tasks. Plugins may still run scheduled jobs, such as imports or email digests. Pause any that write to your database.
Step 3: Test read-only mode
Before you start your work, check that read-only mode is working:
- Open a private browser window and visit your site. It should look normal.
- Try to leave a comment. The comment form should be gone or closed.
- Try to log in as a non-administrator, such as a test editor account. You should see the read-only message.
- Check your dashboard as an administrator. You should see the yellow “Read-only mode is on” notice.
Using read-only mode during a site migration
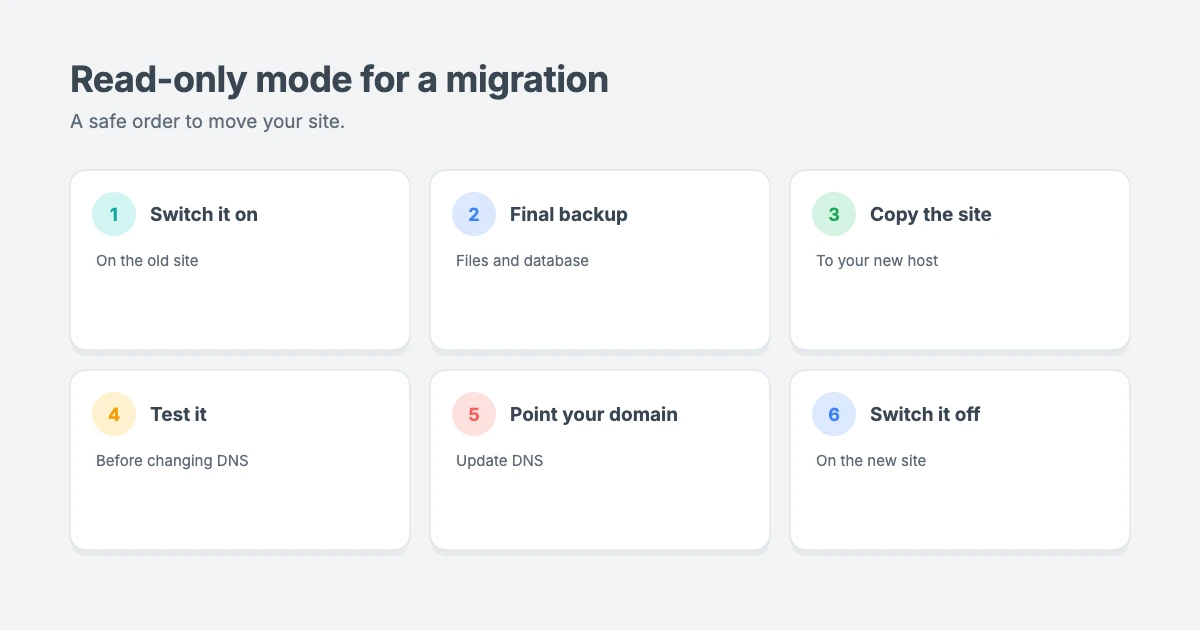
Read-only mode is especially useful when moving your site to a new host. Here’s a safe order to follow:
- Switch on read-only mode on your old site.
- Take a final backup of your files and database.
- Copy the site to your new host.
- Test the new site thoroughly before you change your domain’s DNS.
- Point your domain to the new host.
- Switch off read-only mode on the new site once it’s live.
Don’t forget: because the read-only-mode.php file is inside wp-content, it gets copied to your new host along with everything else. Remember to remove it from the new site, or your team won’t be able to log in.
While the DNS change spreads across the internet, some visitors may still see your old site for a while. Keeping read-only mode on the old site means nothing new is added there by mistake.
Step 4: Switch read-only mode off
When you’ve finished, turn read-only mode off:
- Delete the
read-only-mode.phpfile fromwp-content/mu-plugins/, or rename it to something likeread-only-mode.php.off. If you used a code snippets plugin, deactivate the snippet. - Re-enable your forms and checkout, and remove any notices you added.
- Reschedule any posts you moved.
- Let your team know they can log in again.
Tips for a smooth maintenance window
- Pick a quiet time. Check your analytics to find when you get the fewest visitors.
- Keep it short. Plan your work in advance, so read-only mode is only on for as long as you need it.
- Watch your site. An uptime monitor tells you straight away if something goes wrong. Our guide on uptime monitoring for WordPress shows you how to set one up.
- Have a rollback plan. If an update goes wrong, our guide on rolling back a WordPress update that broke your site can help.
- Keep a backup copy offsite. Our guide on how to back up WordPress to Dropbox shows you one way.
Lightweight WPInterface themes
A fast, lightweight theme makes migrations and updates easier, because there’s less to move and less that can go wrong. WPInterface Pro themes are built with lean code, translation ready and RTL compliant.
Business Interface Pro
Business Interface Pro is a lightweight multipurpose business theme with 12 starter sites, ideal for company websites that need to be fast and professional.

SpeedNews Pro
SpeedNews Pro is a fast news and magazine theme with a trending ticker, mosaic headlines and three-column layouts, built for publishing teams who post every day.

BlogNest Pro
BlogNest Pro is a modern, elegant blog theme for bloggers and content creators, with a post slider, Featured Categories and spotlight blocks.

You can see all our themes on the WordPress themes page.
Need a hand?
If you’d rather not handle a migration or maintenance yourself, the WPInterface team can help:
- WordPress Migration: we move your site to a new host for you, safely.
- WordPress Care Plans: updates, backups and monitoring, handled for you.
- Custom WordPress Development: custom features and admin tweaks, built for your workflow.
- VIP Support: a $29 priority ticket for quick expert help.
Frequently asked questions
Does WordPress have a built-in read-only mode?
No. WordPress has a maintenance mode it uses briefly during updates, but no read-only mode. You can add one with the code snippet in this guide.
Will read-only mode affect my SEO?
Your site stays online and your pages load normally, so search engines can still crawl them. For a short maintenance window, read-only mode shouldn’t affect your rankings.
Can visitors still see my site in read-only mode?
Yes. Visitors can browse your site as normal. They just can’t log in, comment or register.
What happens if I lock myself out?
The snippet always lets administrators log in. If something goes wrong, delete or rename the read-only-mode.php file in wp-content/mu-plugins/ using your hosting file manager or FTP.
Does read-only mode stop all database changes?
No. It stops logins, comments and registrations, but administrators, plugins, forms, store checkouts and scheduled tasks can still make changes. Pause these separately, as described above.
Should I use read-only mode or maintenance mode for a migration?
Read-only mode is usually better, because your site stays online for visitors while you work. Use maintenance mode if your site might look broken during the work.
Final thoughts
Read-only mode is a simple way to protect your content during migrations and maintenance. Your visitors can still read your site, while you make sure nothing is added or changed until you’re ready.
Add the snippet, pause your forms and scheduled posts, test it, and remember to switch it off, especially on your new host after a migration.
Reactions
How did this make you feel?
Be the first to react
One reaction per visitor. Tap again to change or remove it.



Leave a reply